How To Make Easter Egg Cake Pops With A Disney Spin
We really don’t need a holiday as an excuse to bake. But since it is Easter time, we thought we would get creative by making a recipe based on a popular sweet treat found at both Disney World and Disneyland. Join us as we walk you through how to Make Easter Egg Cake Pops With A Disney Spin.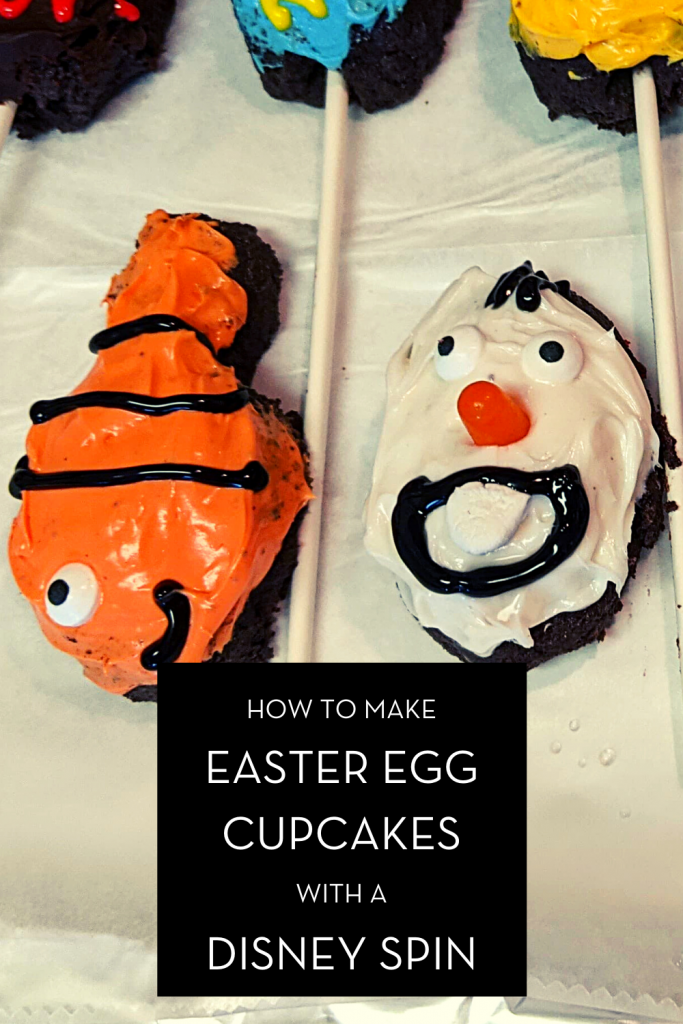
Easter Egg Cake Pops with a Disney Spin
Join us on another Disney inspired baking adventure, just in time for the Easter holiday!
Allergy Friendly
If you have a food allergy, then you probably know finding sweet treats that are gluten free while at a Disney Park can be a challenge. Now, there are some out there to be found but not quite as many as we would like. So, this specific recipe is geared toward those of us with a gluten allergy. BUT don’t worry, you can still use this same recipe using regular ingredients.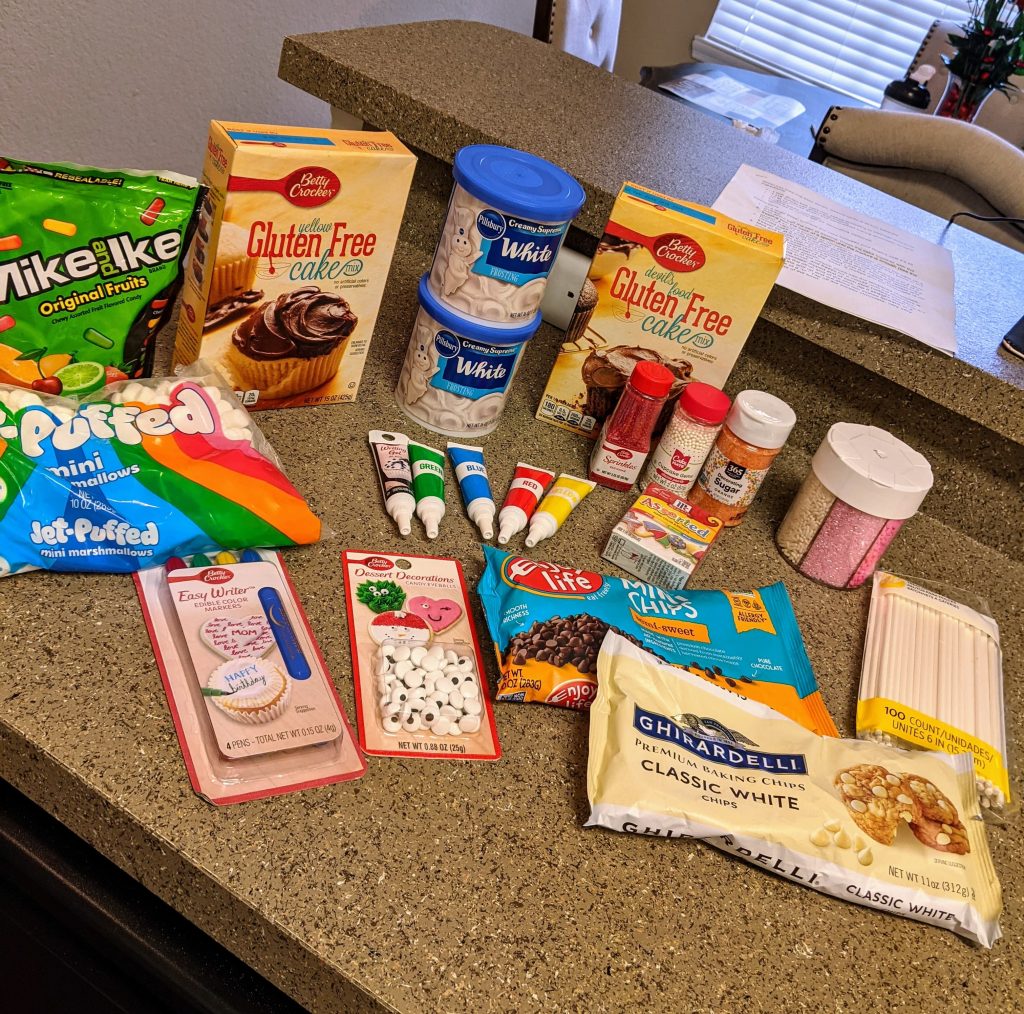
What You Will Need
We need to get all of our ingredients together before we start. Grab a pen and paper or just screen shot this section of the blog and head on out to the grocery store. I use both Betty Crocker and Pillsbury products. I shop by sale or whichever is available at the time. There are several other brands available that will work just the same.
Cake Pops
- 1 Box – Gluten Free Cake Mix – (Sub for Regular if desired)
- 2 (16oz)- containers of Gluten Free Frosting (Sub for Regular if desired)
- 10 to 12 Ounces gluten free semi-sweet baking chocolate
Decorating
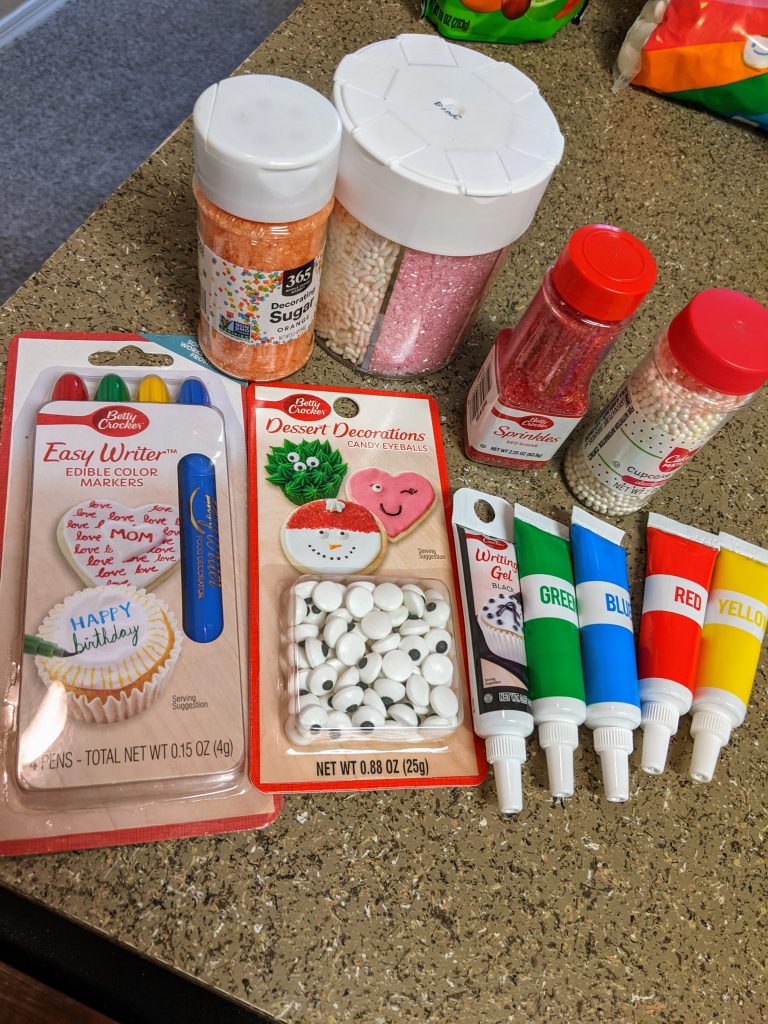
- Food Coloring
- 1 pack – Lollipop Sticks – (optional)
- Sprinkles, Decorative Sugars, Marshmallows, Mike & Ike Candies (or jellybeans), decorative eyes, gels, and any other items for decorating you desire.
Instructions
First, prepare the cake mix according to the package directions. I just used a square cake pan. You can use any size pan you would like. I don’t suggest a cupcake pan unless that is the only one you have available. Only because we will just be crumbling up the cake in the next steps. 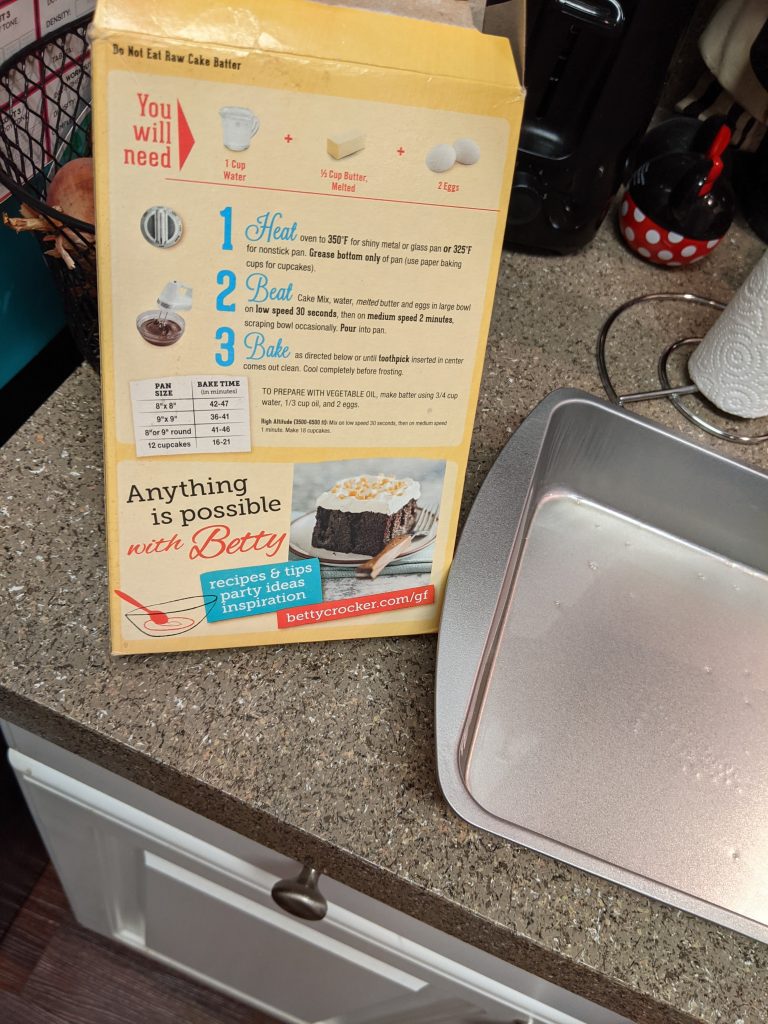
While the cake is baking, go ahead and prepare your decorations. Mix up different color frostings. Place marshmallows and candies in a bowl for easy access and so you don’t get frosting all over the bag while decorating. 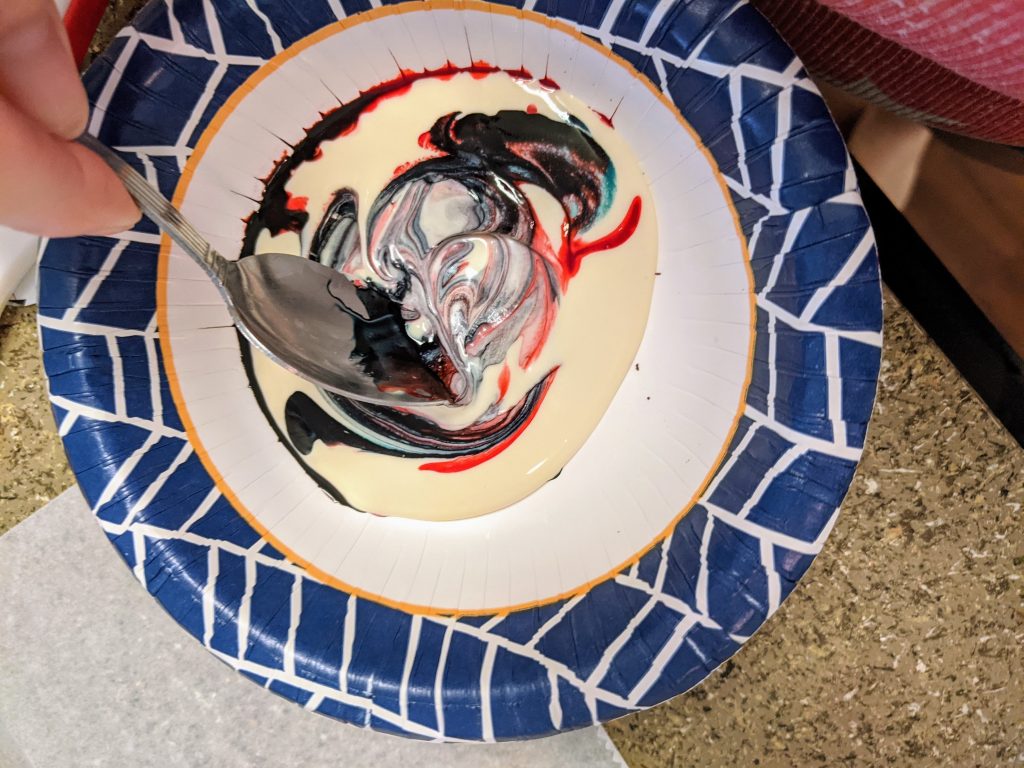
Prep
Once the cake is done, remove it from the oven and allow it to cool in the pan for about 30 minutes. Place the pan on a counter or cooling rack. You don’t want to leave it on top of the warm oven. While the cake is cooling line two baking sheets with parchment paper. You will need to place these in the freezer later so use this time to make sure there is space in the freezer for the pans to sit flat.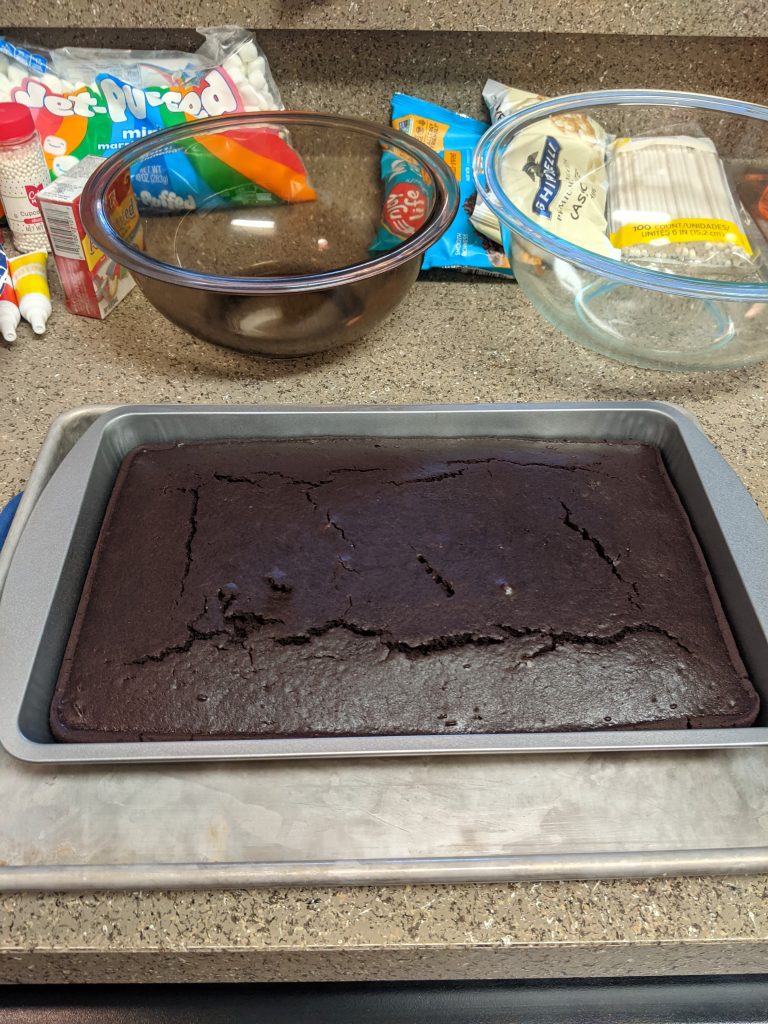
Next Steps
Once the cake has cooled, in a large bowl crumble the cake with your fingers. Add half a can of the frosting and press the cake together using a spoon. You will want to add more frosting as necessary until the mixture is smooth.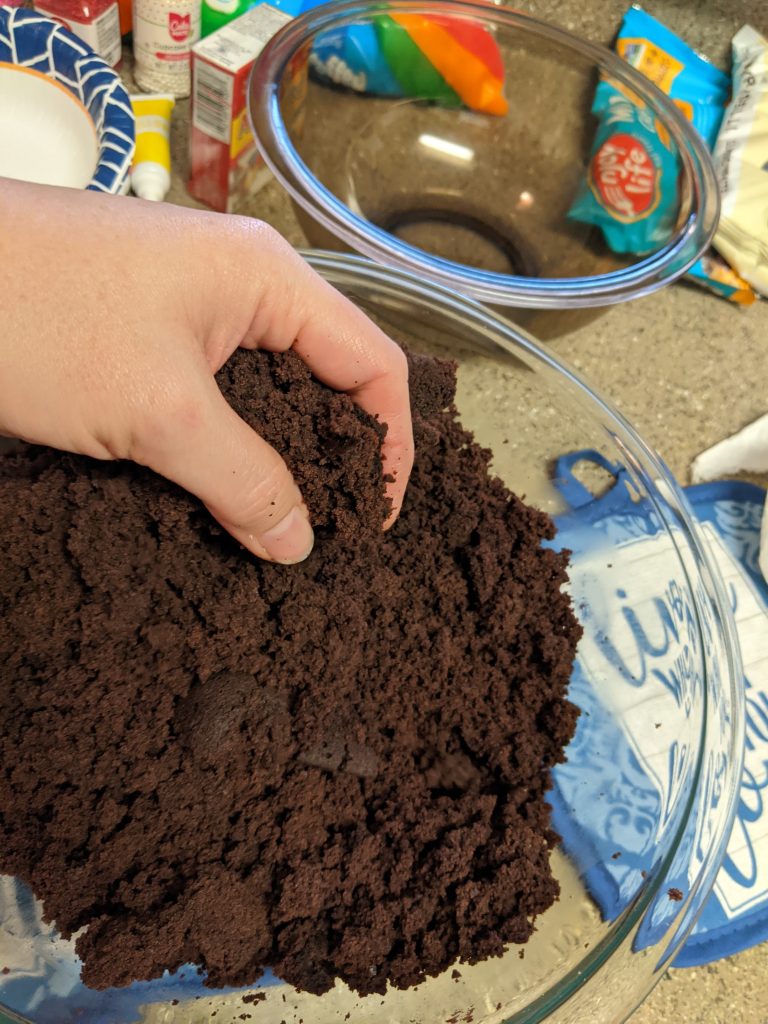
Shape the mixture into egg shaped pieces. You can make other shapes or just round as well. Place each shaped piece onto the baking sheets you prepared earlier. Once you have shaped all of your cake mixture place your pans in the freezer for at least 30 minutes. Or up to a few hours if you plan to decorate later. 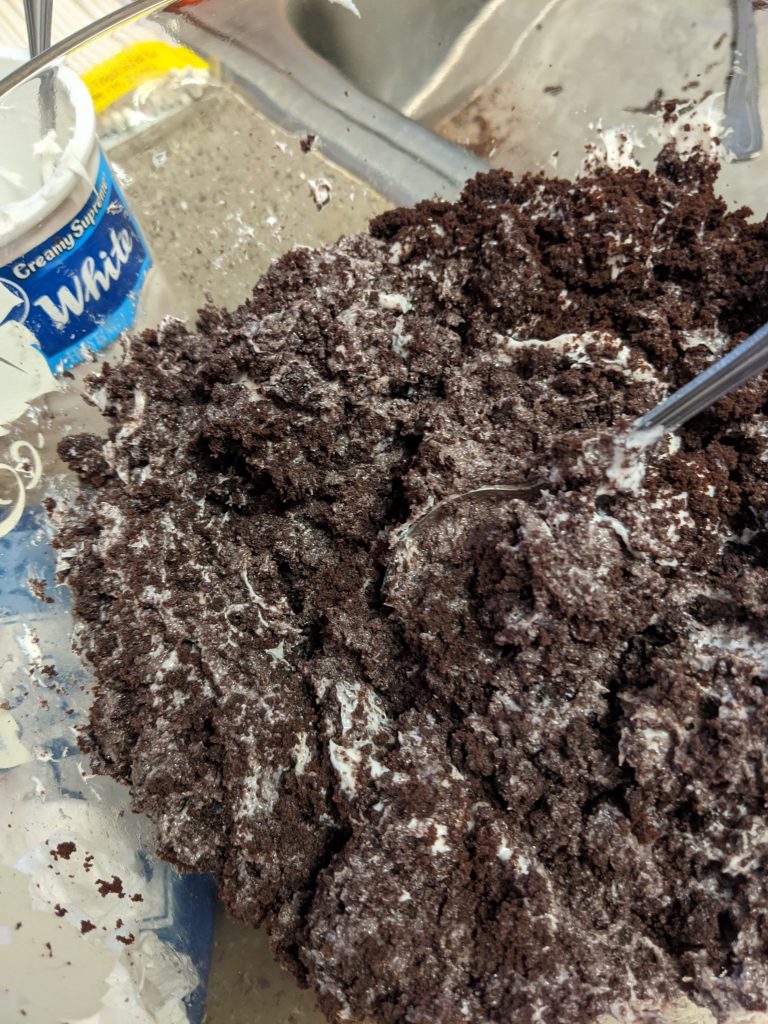
Using Lollipop Sticks
If you are planning to use the lollipop sticks you will need to prepare them before you begin decorating. First, you will need another cookie sheet lined with parchment paper. In a microwave safe bowl, melt 10 ounces of the semi-sweet chocolate on high for 30 seconds at a time. Stirring in between until the chocolate is melted and smooth. 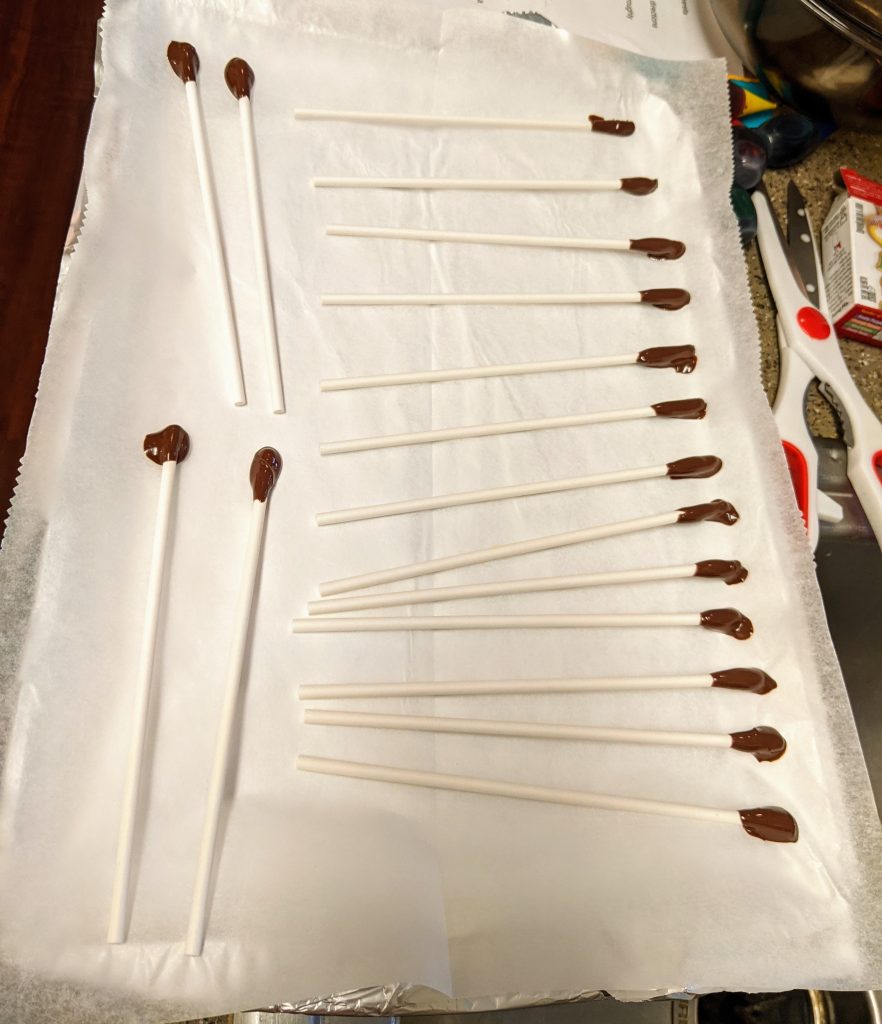
Stick the tip of one side of the lollipop sticks into the melted chocolate. Place them on the lined cookie sheet and freeze for one minute until the chocolate is set. If you are not using lollipop sticks just leave each egg on the cookie sheet. 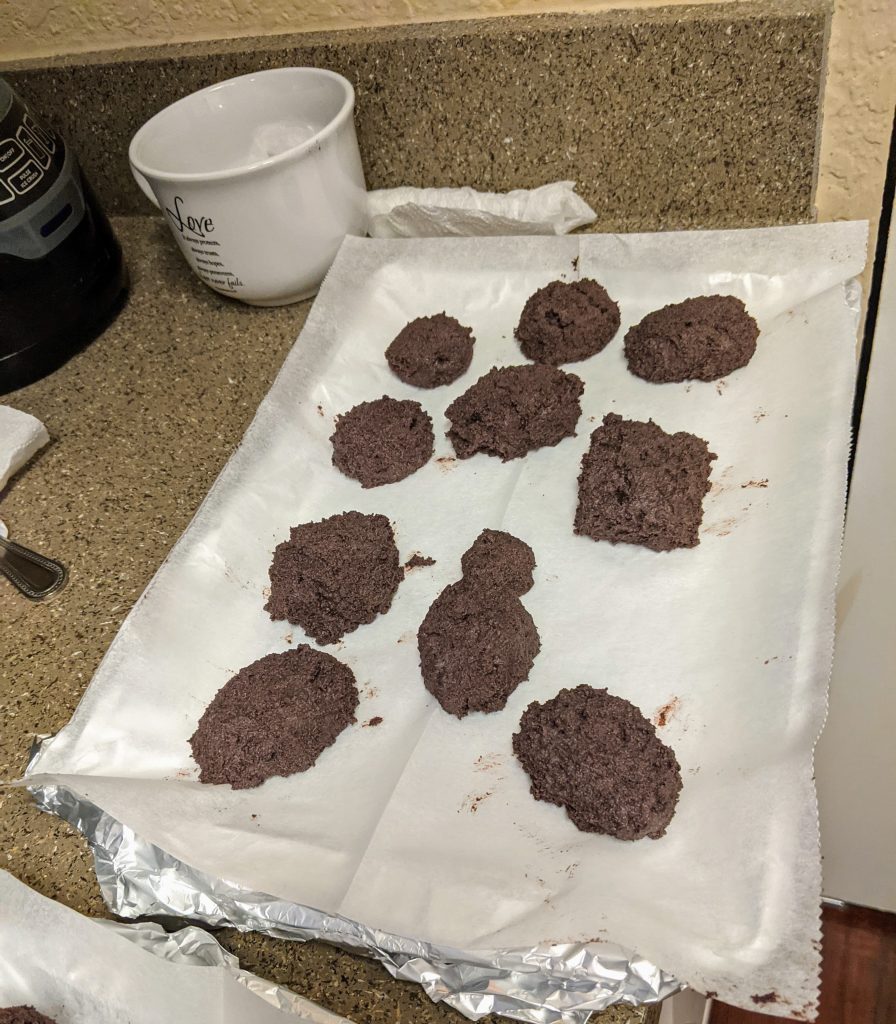
Let’s Decorate
Now, for the fun and messy part! Decorating. I don’t know about you, but I like recipes that are fun and easy. To decorate, I just simply frost each egg and then used the gels, candies and marshmallows to create eggs that represent some of my favorite Disney characters.
Don’t be afraid to get creative! Trust me, unless you are a professional chef who has been trained, they are likely not going to be perfect. That is ok, just go with it have fun and let the kiddos make a mess all while you create some Easter memories. Place any left over cake pop eggs in an air tight container and store in the freezer.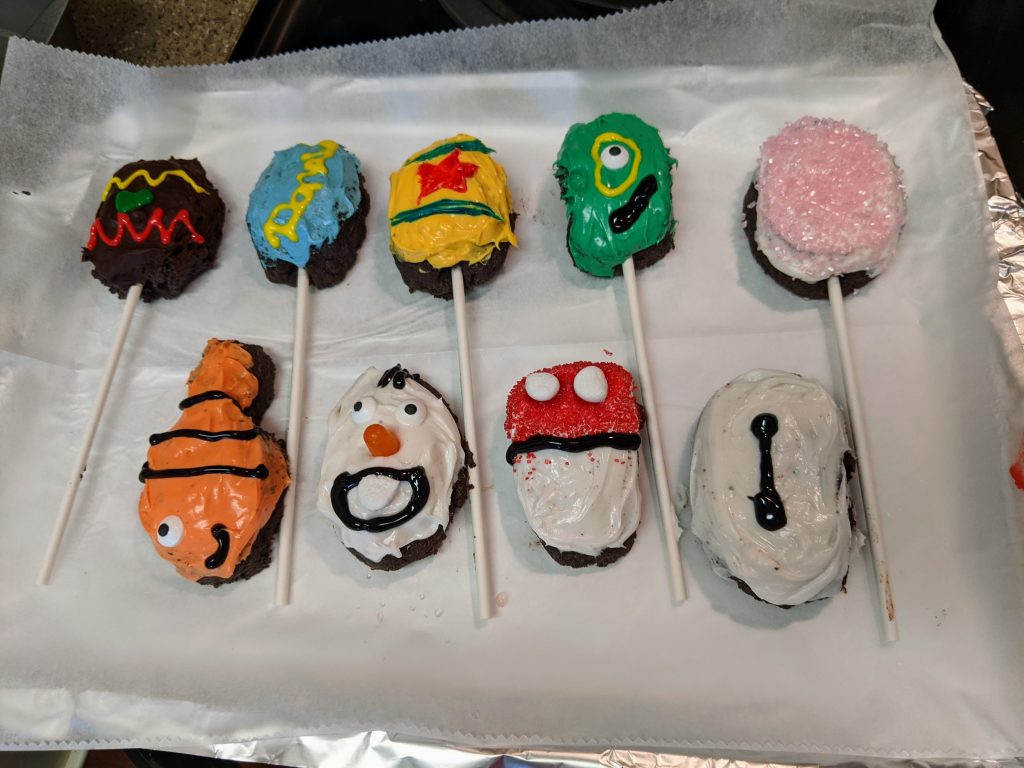
Easter Egg Cake Pops With A Disney Spin are such a cute way to incorporate a little Disney into your Easter holidays! If you enjoyed this recipe you may want to also want to give our Dole Whip Cupcakes a try!
We would love to see your egg cake pop decorations! Snap a photo and come share it with us over on Facebook at Disney Express Lane.
Ready to plan your magical vacation? Go HERE for a FREE quote!
- Post may contain affiliate links.
Welcome to WaltExpress.com! Check out our most popular posts while you are here, located in the sidebar and you can "like” our Facebook page here and receive new posts in your news stream. Thanks for visiting!

Carrie Ponce
Latest posts by Carrie Ponce (see all)
- 5 Ways To Take Perfect Pictures On Your Next Disney World Vacation - April 27, 2021
- How To Make Easter Egg Cake Pops With A Disney Spin - April 1, 2021
- Everything You Need To Know About Disneyland Reopening - March 18, 2021



GetDeals, Tips, and Updates Delivered to Your Inbox!
Bibbidy Bobbidy Boo, you're in! Check your inbox for a special message from us!